|
|
Post by coldspaces on Mar 28, 2014 4:06:52 GMT
|
|
|
|
Post by coldspaces on Mar 28, 2014 4:28:49 GMT
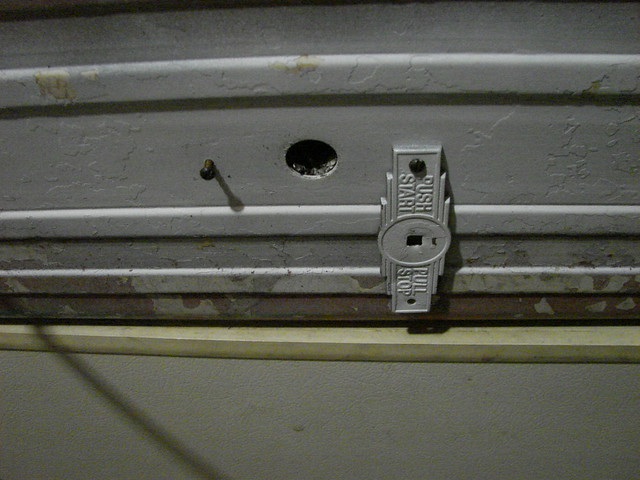
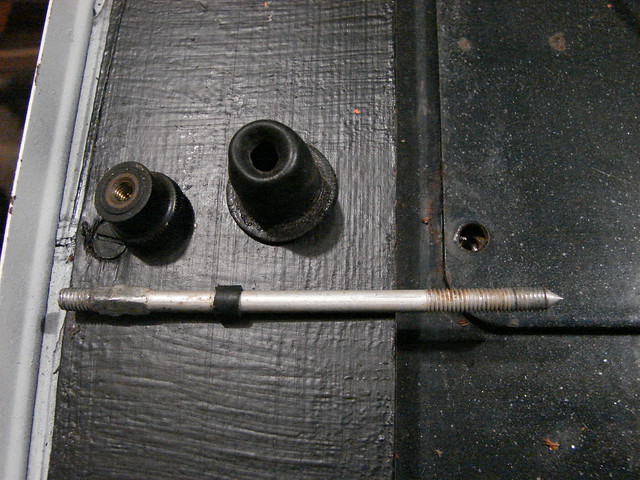
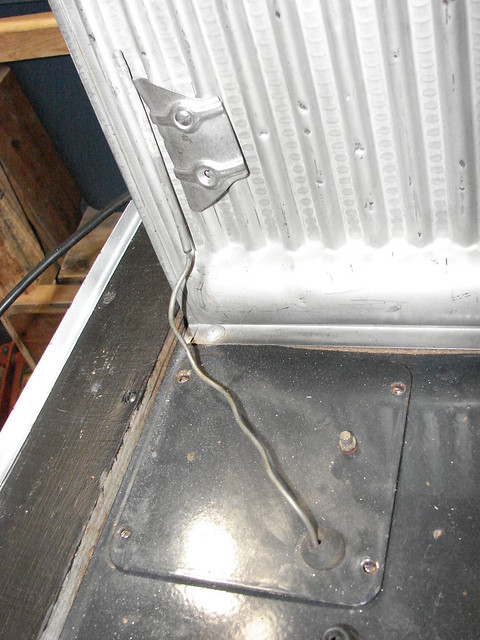
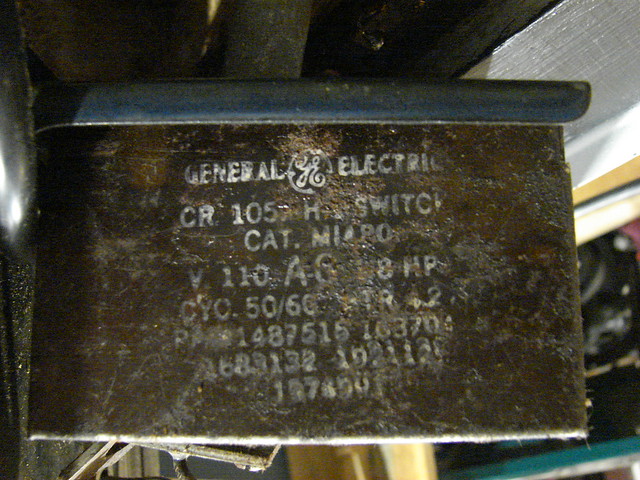
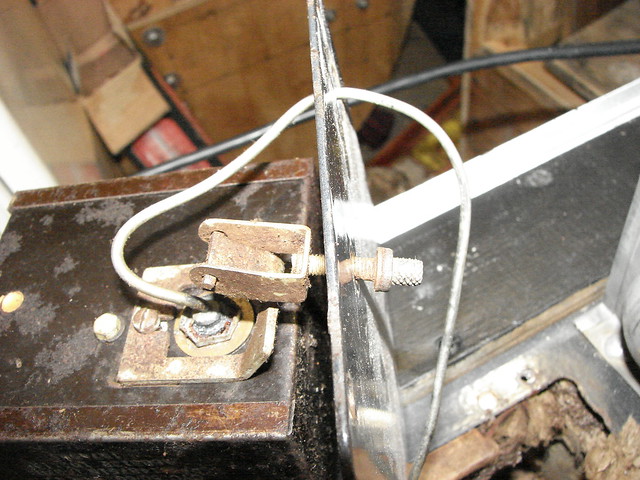
The grommet easily comes out with the tube still in it.  One screw is all that is really holding it in the housing. I removed it and then slipped off the bracket from under its adjusting screw.  This control is looking pretty rough. Lots of corrosion and some pretty burnt points.    View of the overload end. And some nasty looking main contacts.   Check out the start contacts One of them is on the end of a brass post.  This would be some work to re-contact this control. Some of the flexible part in the start relay and its post may be hard to successfully replace contacts on. The main contacts are on a brass bar that is held in place by several fiber board pieces that are so old they will likely brake if messed with too much. The box this is all in is rather large though,it might be possible to place a new cold control, overload and Marrs relay in it. Might have to leave the push rod as decoration only unless you could also cram some newer push type switch in also. Would take some time and work to figure it all out and make it fit. Coldspaces. |
|
|
|
Post by Deleted on Aug 24, 2017 13:07:26 GMT
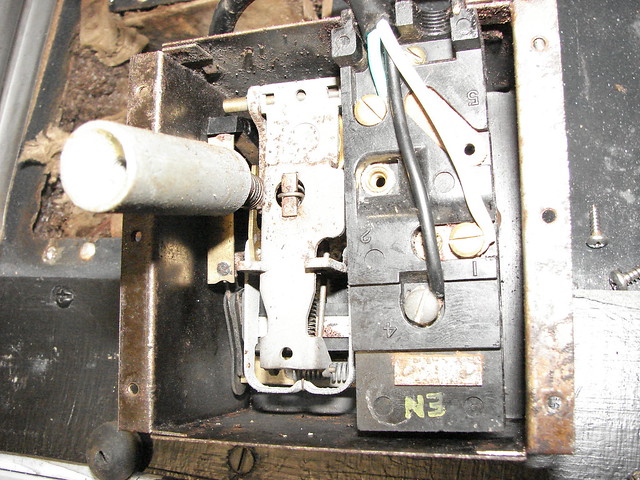
This is actually a fairly easy control to remove. Don't even need to bend the sensing tube. First I removed the knob and the front plate. Then the shaft will screw out turning counter clockwise. Removed 4 screws from the cover and the sensing tube from the evaporator. You must line the tube the shaft screws into up with the corner of the hole to get it out. Had to remove this adjusting screw to get it loose from its mounting base.  Here's what she looks like inside. Is the "adjusting screw" you are mentioning here supposed to be the thermostat adjustment?? And I am guessing it had a Bakelite knob on it that is broke off?? |
|
|
|
Post by Travis on Aug 24, 2017 22:17:44 GMT
I've never seen a knob on that adjustment stud. The ball tops were right next to the lowest priced models when available. I was told they were for rooming houses and apartments.
|
|
|
|
Post by elec573 on Aug 25, 2017 4:47:16 GMT
As usual cold spaces you make it look easy . Admire your work thanks for posting.
|
|
|
|
Post by coldspaces on Aug 25, 2017 4:49:40 GMT
As usual cold spaces you make it look easy . Admire your work thanks for posting. You are welcome! |
|
|
|
Post by Deleted on Aug 25, 2017 9:57:40 GMT
I guess I will find out about that adjusting screw when I pull mine apart. Mine is working great but staying running when you try to turn it off. Guess the off-on points are welded shut.
|
|
|
|
Post by Deleted on Aug 26, 2017 1:29:31 GMT
That adjusting screw is changing temps in the box so I guess these are user adjustable. I put a knob on mine. Tighten for warmer and loosen for colder. I have not taken it apart yet and from the looks of the pictures I really do not know how this adjustment screw is working.
|
|
|
|
Post by birkie on Aug 26, 2017 11:34:19 GMT
That adjusting screw is changing temps in the box so I guess these are user adjustable. I put a knob on mine. Tighten for warmer and loosen for colder. I have not taken it apart yet and from the looks of the pictures I really do not know how this adjustment screw is working. The speed with which you dig into your new fridges to try things out is admirable! I'm glacially slow... |
|
|
|
Post by Deleted on Aug 26, 2017 13:21:28 GMT
I may be fooled but still checking! What other reason would there be for all those threads and a knurled place where a knob has been?
|
|
|
|
Post by coldspaces on Aug 26, 2017 14:33:19 GMT
I am pretty sure it was knurled so you can get hold of it because there was no knob. Adjusting the knob changes the tension of the one screw that holds the bracket to the control.
|
|
|
|
Post by Deleted on Aug 26, 2017 17:02:53 GMT
I just can't figure them not just putting a screw in it without a mile of threads??
|
|
|
|
Post by blackhorse on Aug 26, 2017 17:07:45 GMT
I just can't figure them not just putting a screw in it without a mile of threads?? It probably wasn't intended as a customer adjustment, more of a service calibration. |
|
|
|
Post by Travis on Aug 26, 2017 17:45:32 GMT
The CG was one step up from the LK. It was designed as the cheap model. Everything about it screams cheap. The hardware is less sturdy, the shelves are plain and the evaporators are almost useless on the form A's. It's also clear from seeing a number of these over the years that they rust out badly. Here are some pictures of the explanation of the temperature adjustment of the control on a CG. It's a knurled screw, meaning the screw is inside. I am fairly confident that GE didn't want to put anymore money and time in building something that sold for $79.95. God bless the ball tops, but they were cheaply built and it shows after all these years. If you have a ball top and want to keep it around, disassemble the cabinet, repair rust and re-insulate and replace the gaskets. The metal on the cabinet is thin and is begging to rust out. That's why Gill has an extra unit. The cabinets fail, but the unit continues. As much as I am thrilled to find a nice original CG, It's going to get refurbished before I use it. |
|
|
|
Post by Travis on Aug 26, 2017 18:00:07 GMT
Another general comment:
I have been admiring and collecting refrigerators for 20 years. For at least the first 7 years of that, I didn't have ANY manuals. I was so excited when a seller on ebay started selling copies of manuals.
Now the manuals are on this forum for free and it seems that few can be bothered to read them. I don't mean that you have to have an in-depth understanding of your machine, but the CK manual is chocked full of directions on how to remove and replace nearly everything.
|
|