|
|
Post by Lance-W on Nov 5, 2016 14:56:15 GMT
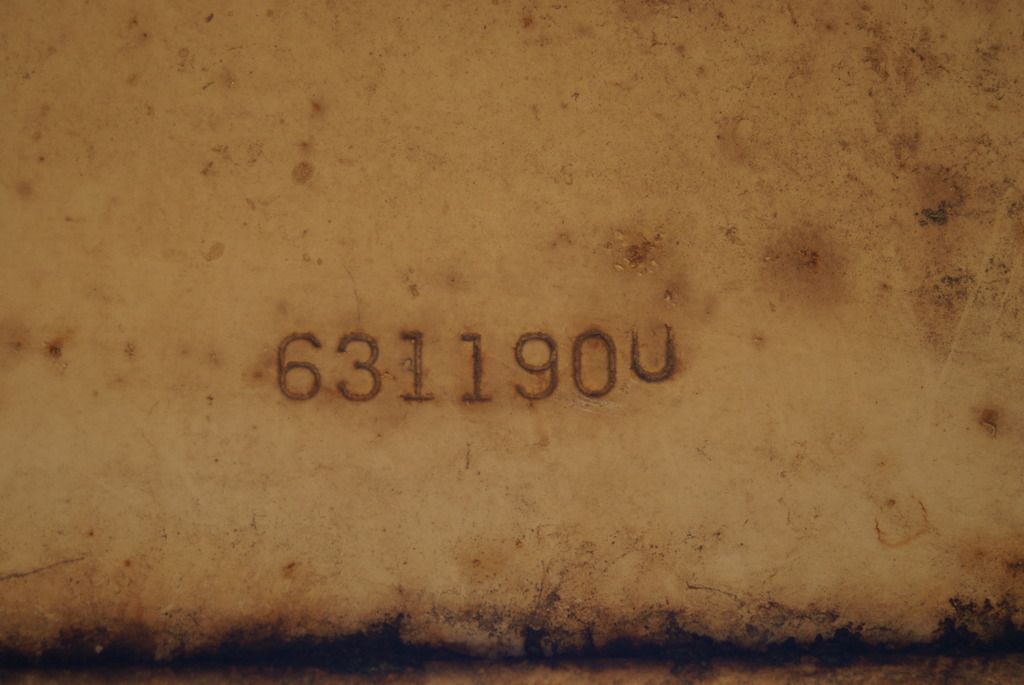
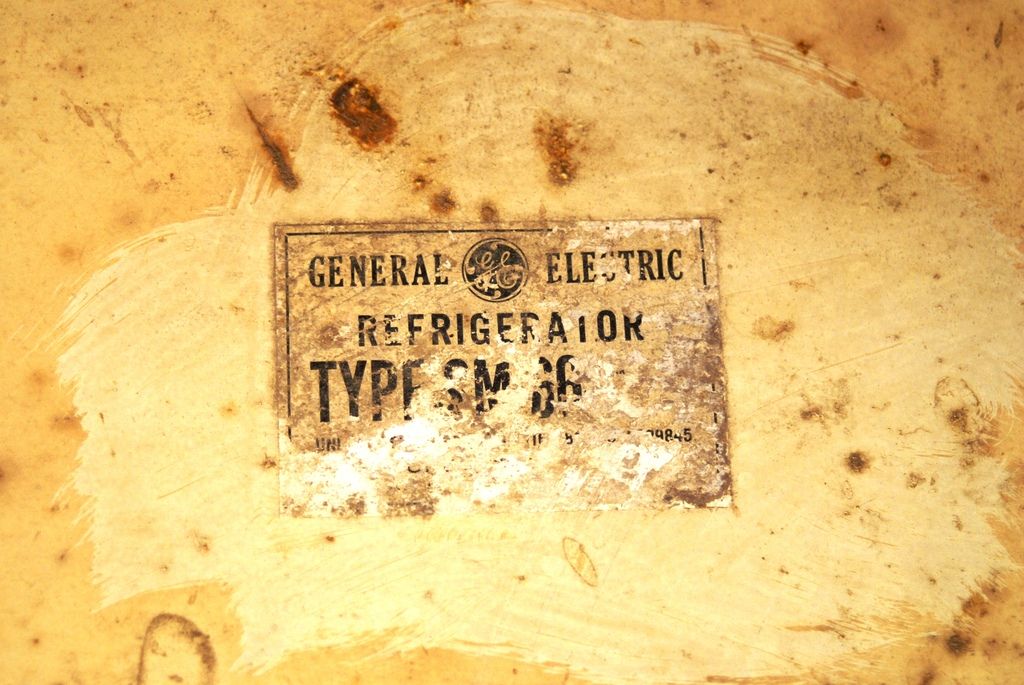
Hello, I'm new to your forum but not new to restorations of old stuff. I've been searching for a Monitor Top for quite a while now and finally found one that I figure is a good starting point. It RUNS! which was a big deal for me as I didn't want to deal with rebuilding the cooling system. I have some other questions though  Do the shelves look factory? I'm thinking they're not. Are any reproduction parts available? I need to replace or repair the latch. It's just worn out. Can anyone recommend a plating house in Southern California? All the hardware needs freshened. I've read in other posts in the forum where there are feet pads available on Ebay but I can't see how they would connect to the feet on this model? Maybe they don't belong on this model? Are the original style electrical plugs available anywhere? It sure would be nice to keep that part as original as possible. The cords are of course all cracked and aged and need replaced. Anyways on to the pictures in the as found condition. 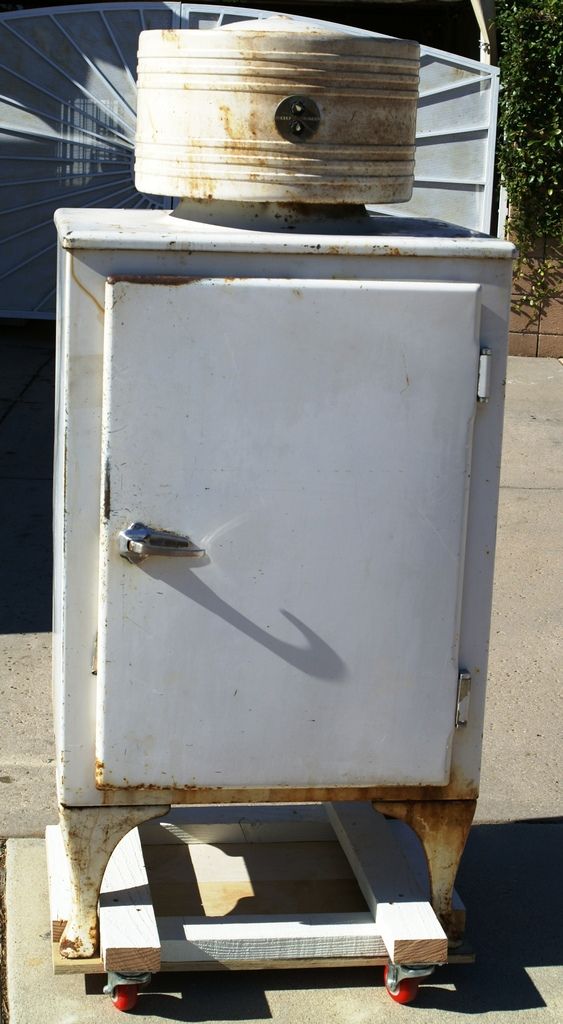 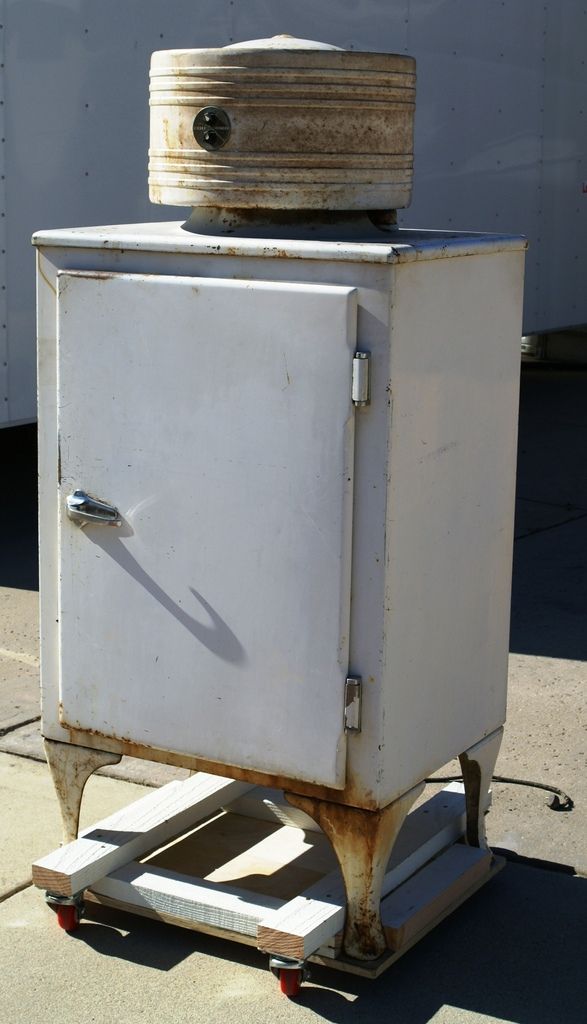 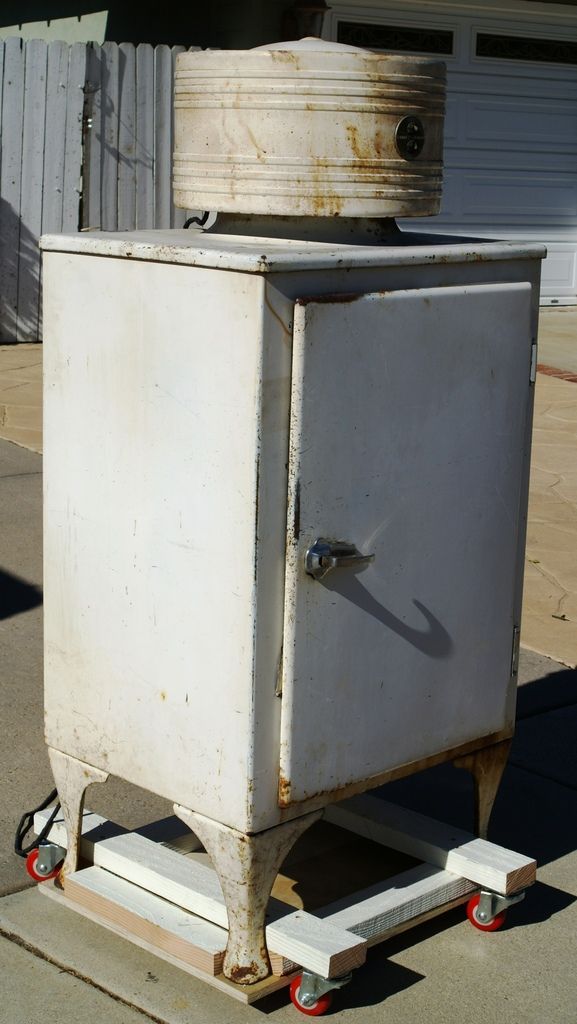 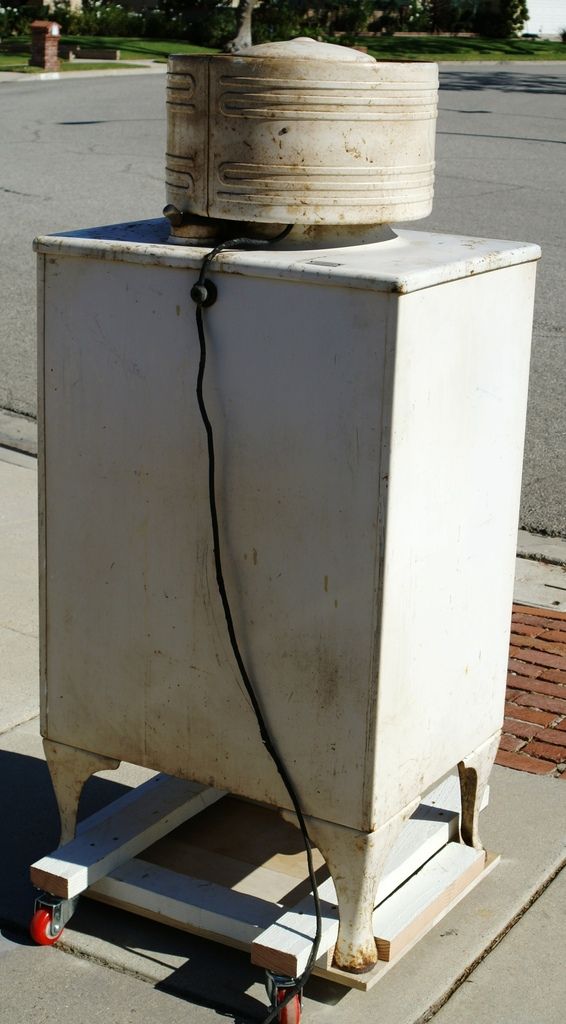  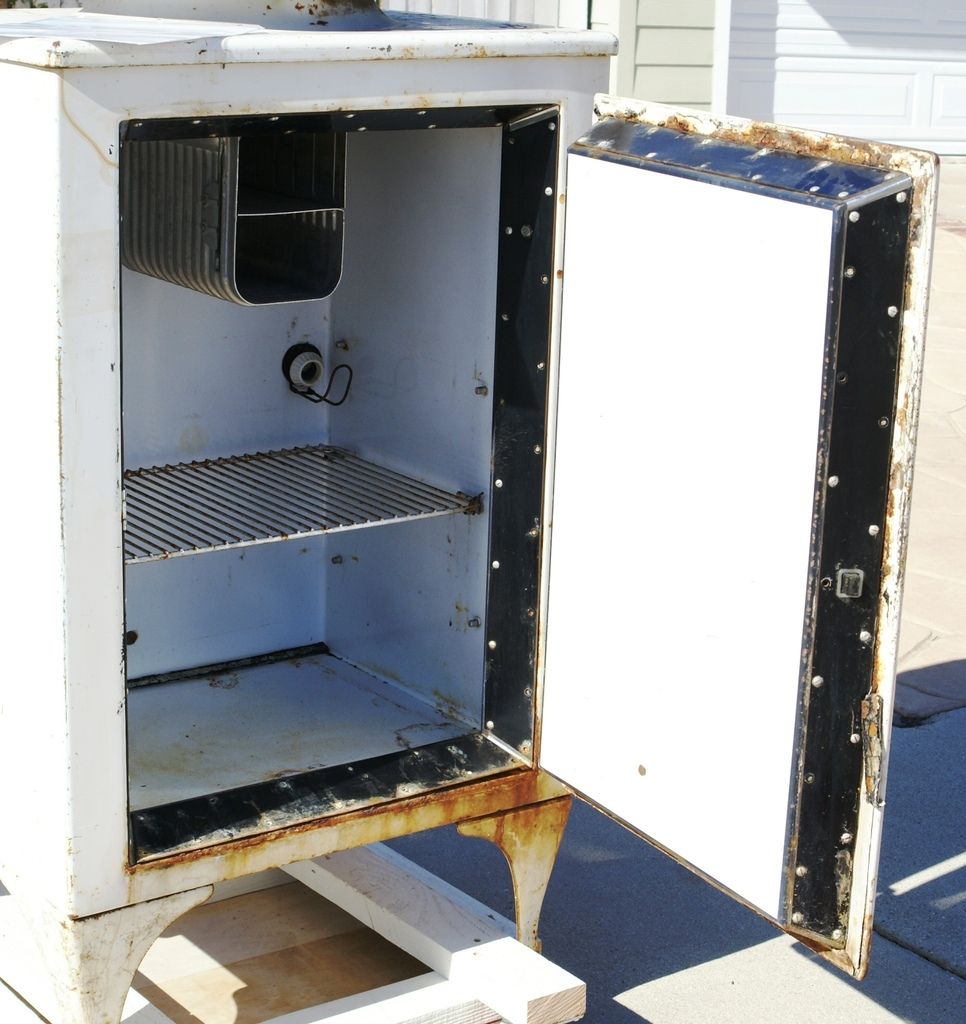 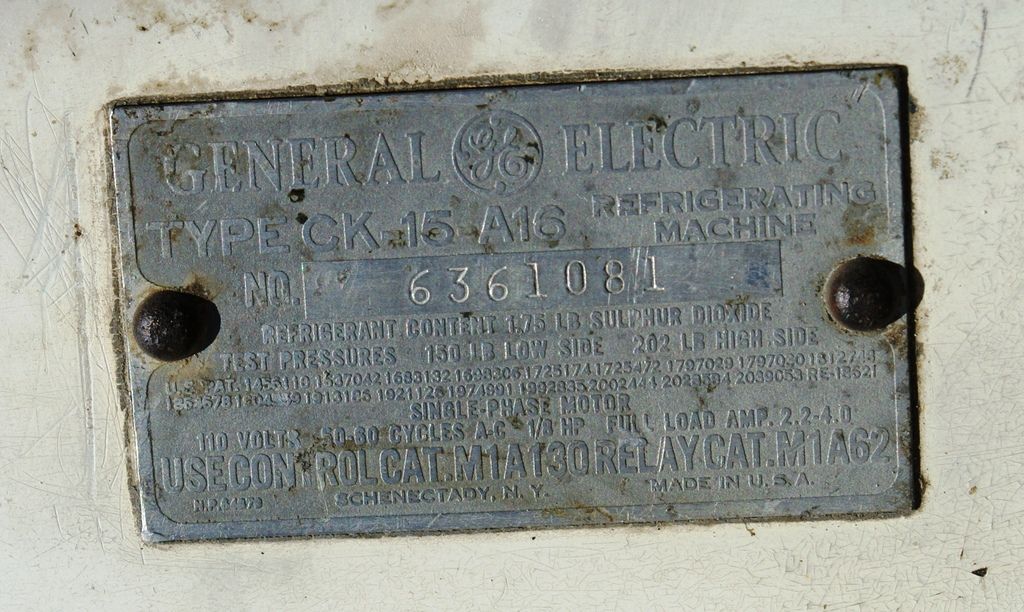 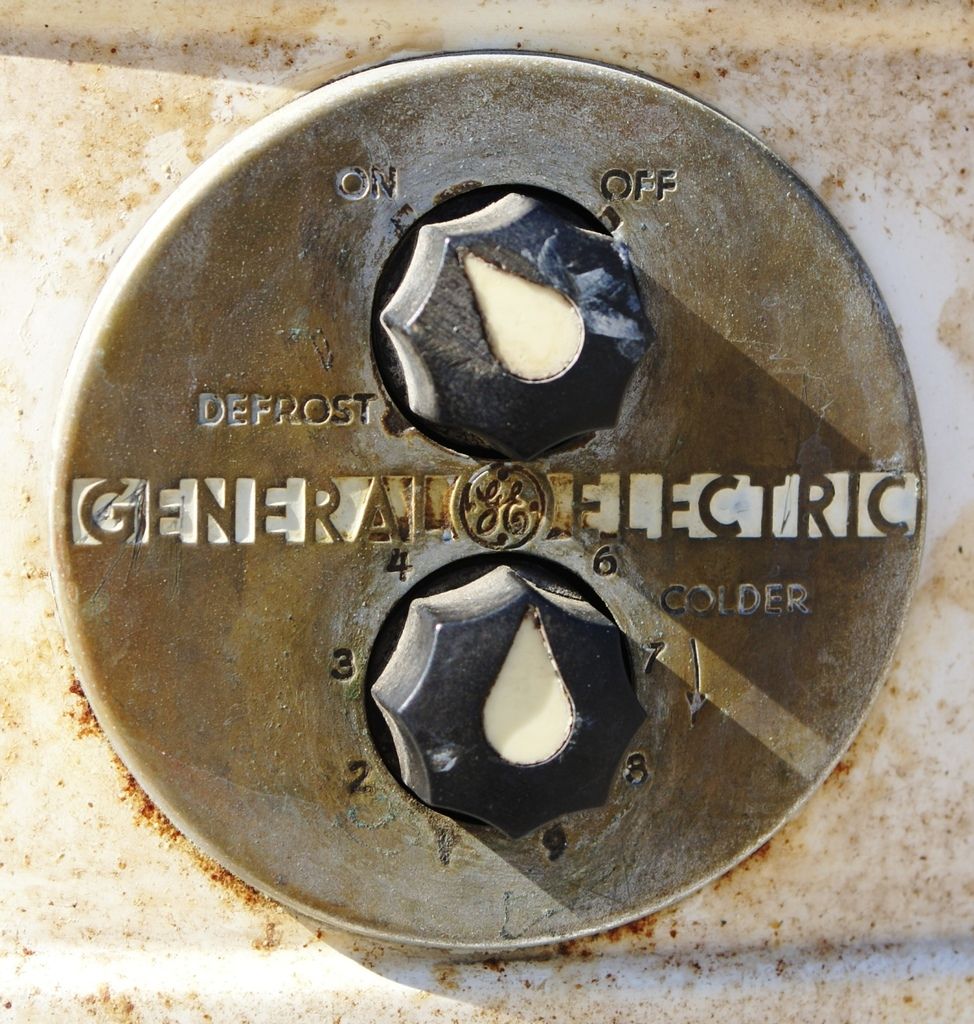  |
|
|
|
Post by ckfan on Nov 6, 2016 14:16:02 GMT
First off, welcome to the forum! Aside from the rust, that is a nice looking machine. I believe that is a 1935 model hence the "a" 16. I would have to double check the manual to confirm though.
I don't think that rack is original either. However, finding racks for these is a tall order. If it fits you may just want to stick with it.
The feet are correct. The pads sold on eBay will fit it. Don't worry about that.
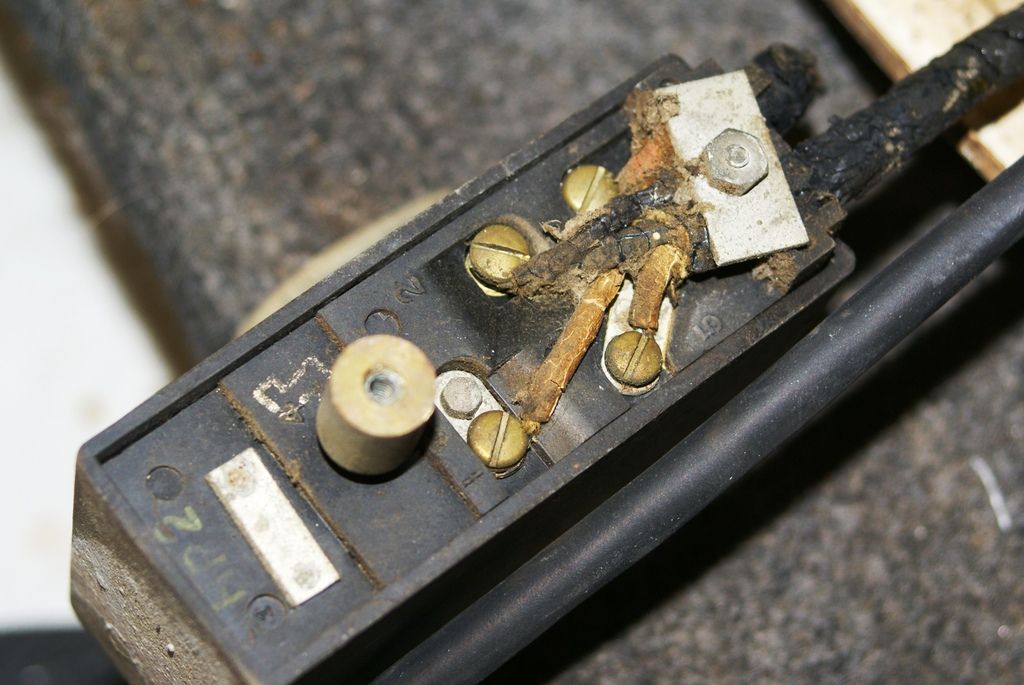
The wiring as you have already mentioned is likely shot. Unfortunately you will need to replace all of the wiring inside and out if you want this machine to continue to run properly and be safe. Seriously, my machines wiring was so bad it was a fire hazard. Look at the top of the CK section and you will find a post that I made and coldspaces contributed to called "how I RE wired my CK". It will show you everything you need to know. You may also consider replacing the start relay while you do this process. It is easy and the same post covers it.
As far as the plug goes, coldspaces is trying to see how to make one. Unfortunately that is a hard process. He is a wizard with fridges and just about anything though so if he makes one I'm sure he would sell it to you.
Good luck and let us know if you have any questions. Oh, and when you remove the top to RE wire it, it would be a perfect time for paint and new gaskets. I can give you pointers on that stuff too.
|
|
|
|
Post by Travis on Nov 6, 2016 15:14:21 GMT
It's restorable. That shelf looks original to me. That cabinet never would've had slider shelves. I likely have a couple more of those shelves to complete the set of three.
|
|
|
|
Post by Lance-W on Nov 6, 2016 16:05:47 GMT
It's restorable. That shelf looks original to me. That cabinet never would've had slider shelves. I likely have a couple more of those shelves to complete the set of three. I actually have 4 of them. They were included with the fridge just not in the fridge. The other three are probably in worse shape though. I was thinking I might just remake them out of stainless rod and skip the whole re-plating thing. Thank you for the offer though. You wouldn't by any chance have a spare door latch handle would you? The one I have is very tired and the pivot hole is shot. |
|
|
|
Post by cablehack on Nov 6, 2016 23:50:42 GMT
My CA-1 uses those shelves.
|
|
|
|
Post by Lance-W on Nov 20, 2016 0:18:32 GMT
|
|
|
|
Post by coldspaces on Nov 20, 2016 4:22:41 GMT
Yep it was rewire time for sure! Looks like you have it under control.
|
|
|
|
Post by ckfan on Nov 20, 2016 14:17:50 GMT
Fantastic! Sure did look bad under there. It might not be a bad idea to hit the underbelly of the compressor with some rust proofing paint to keep it sound and leak free. Make sure that you cover the wire terminals of course. Good luck!
|
|
|
|
Post by Lance-W on Nov 23, 2016 0:33:42 GMT
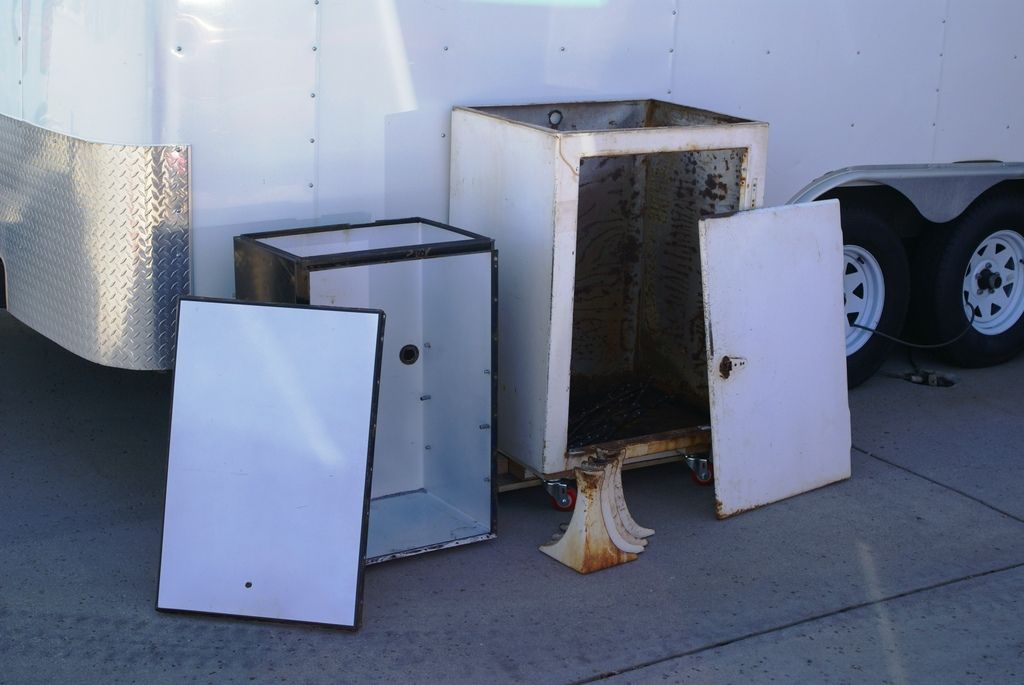
Nice fresh white insulation 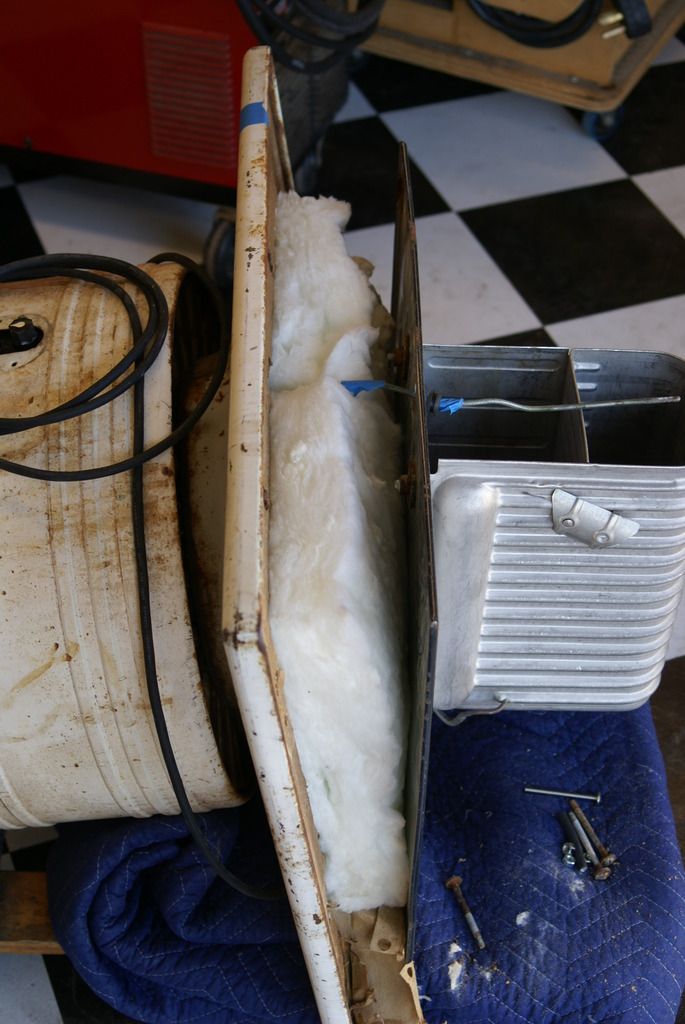 My version of the cardboard. The piece of Teak cost almost as much as I paid for the fridge. Too bad no one will ever see it........................ 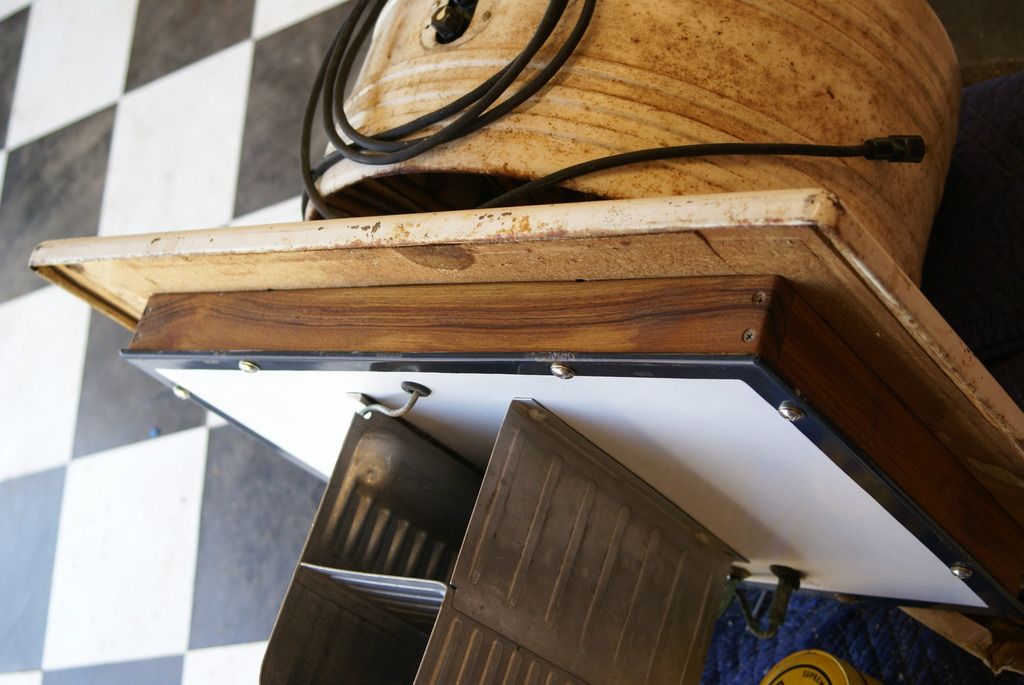 This will be the box the refrigeration unit lives in while it gets sandblasted and painted. 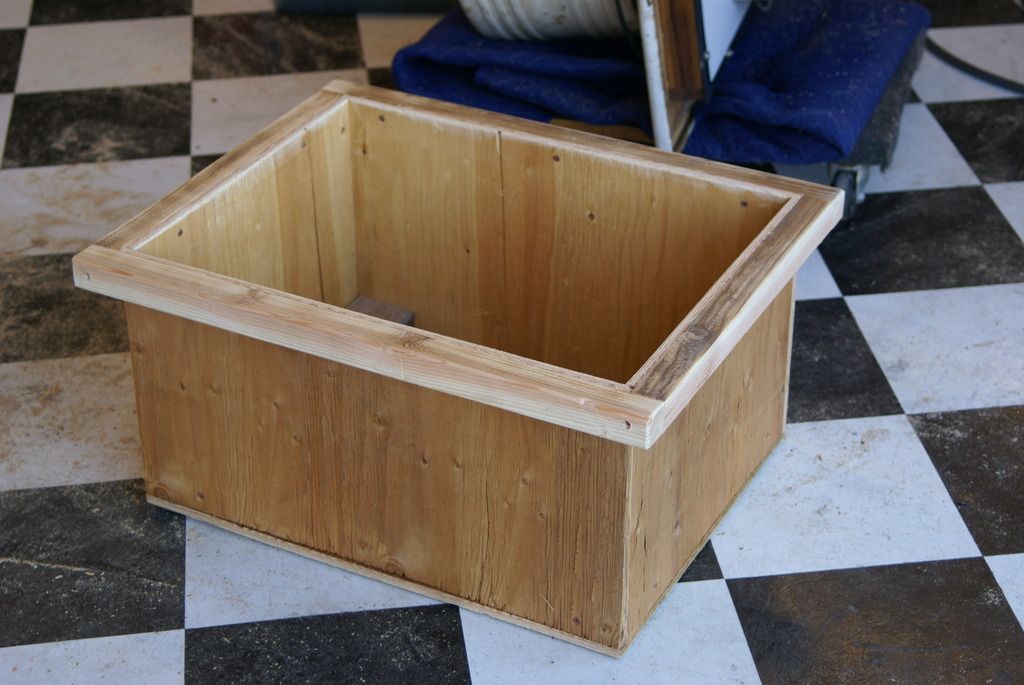 Just like GE lifted them. Hopefully I get a chance to sandblast it tomorrow before Thanksgiving stuff hits. 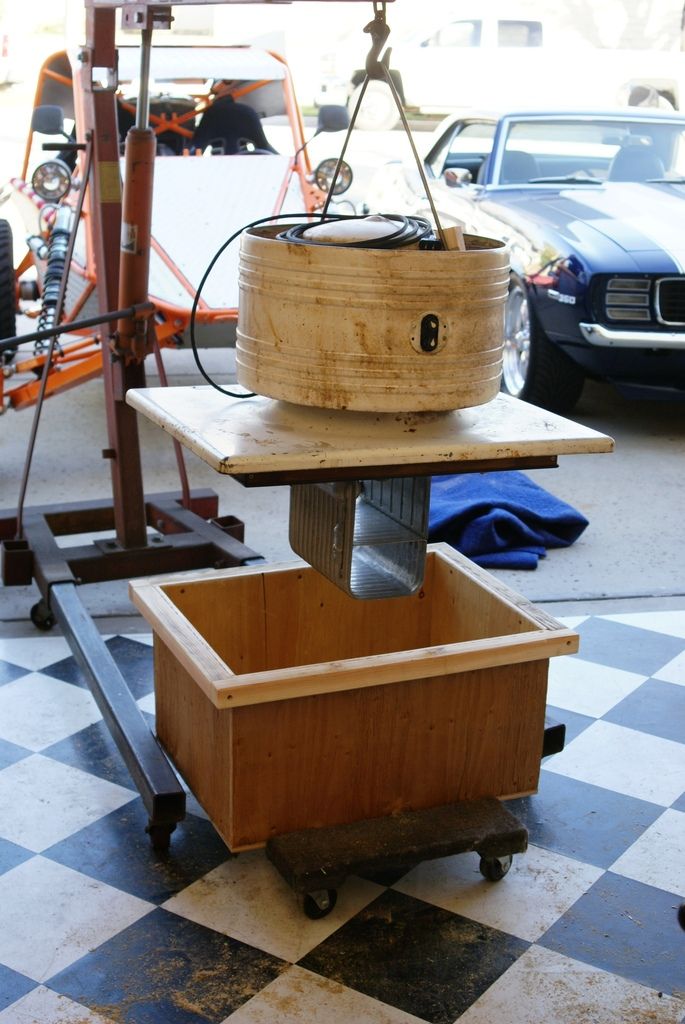 |
|
|
|
Post by ckfan on Nov 23, 2016 0:42:07 GMT
Wow, the teak wood is a great touch! I love it. Keep us informed on the progress of this pampered beauty!
|
|
|
|
Post by timeswelding on Nov 23, 2016 10:10:34 GMT
Looks great. Nice work. More importantly, nice Camaro.
|
|
|
|
Post by ckfan on Nov 23, 2016 14:35:13 GMT
Looks great. Nice work. More importantly, nice Camaro. Isn't that crazy? I'm a big car guy and I was so distracted by the nice wooden box in that picture that I didn't even notice the Camaro or fun toy next to it! Very nice. |
|
|
|
Post by Lance-W on Nov 23, 2016 22:06:10 GMT
|
|
|
|
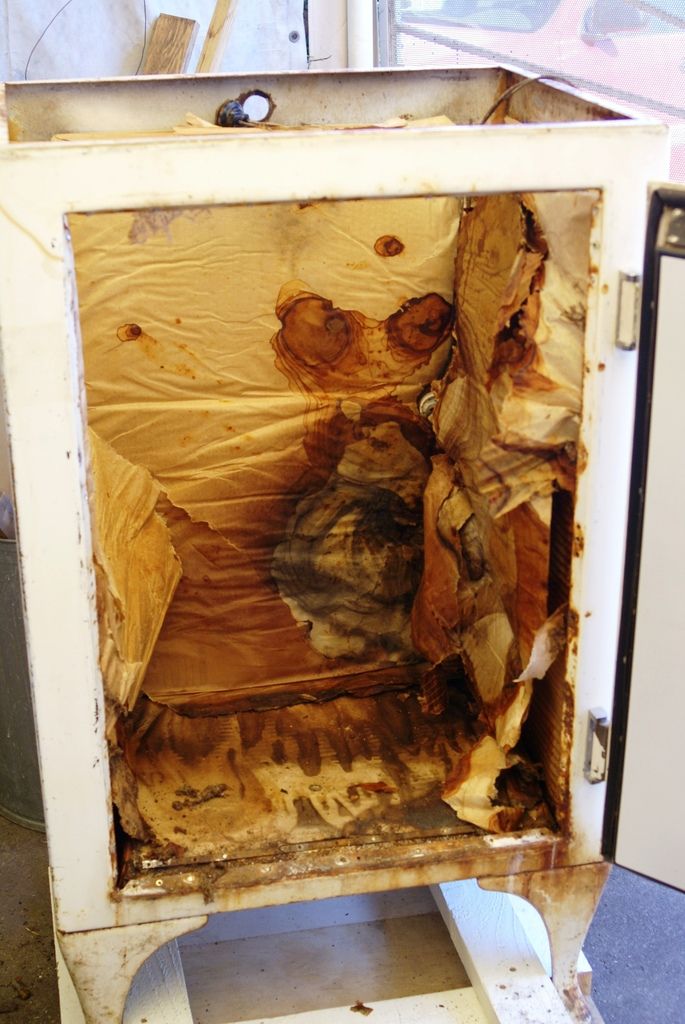
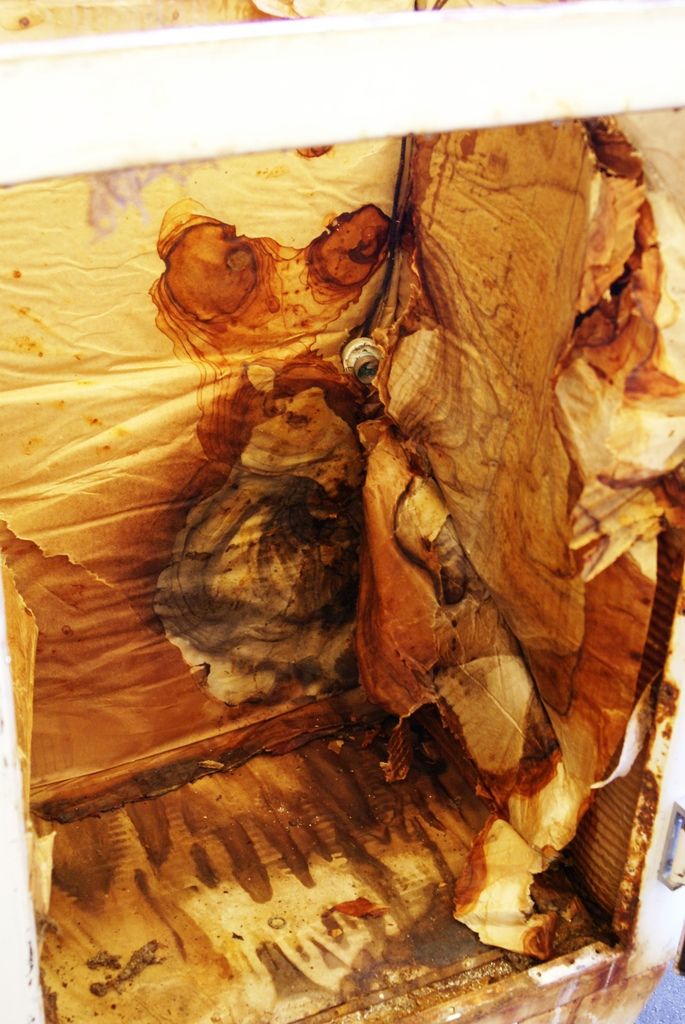
Post by ckfan on Nov 23, 2016 22:34:41 GMT
Wow, glad you took it all apart. That unit had a lot of water damage. Probably due to poor seals being used continually in a humid environment. Luckily it looks like it isn't too far gone. Now you just need to get it all rust proofed and put in some foam insulation! Then it will be super efficient.
|
|
|
|
Post by cablehack on Nov 24, 2016 4:40:19 GMT
That brings back memories. Yours survived a lot better than my X5.
|
|


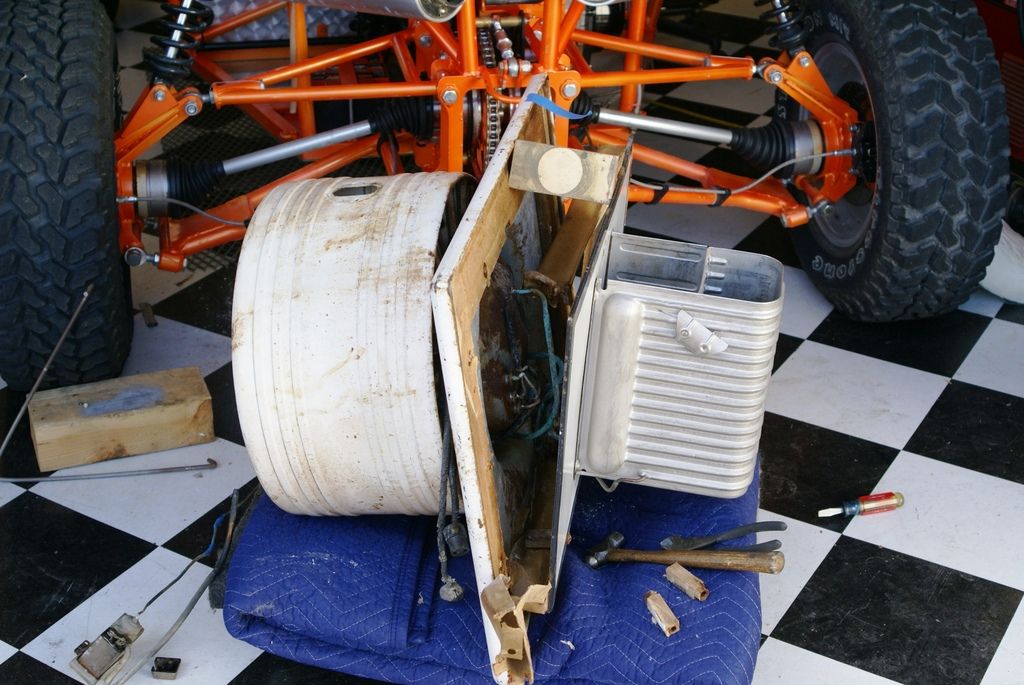
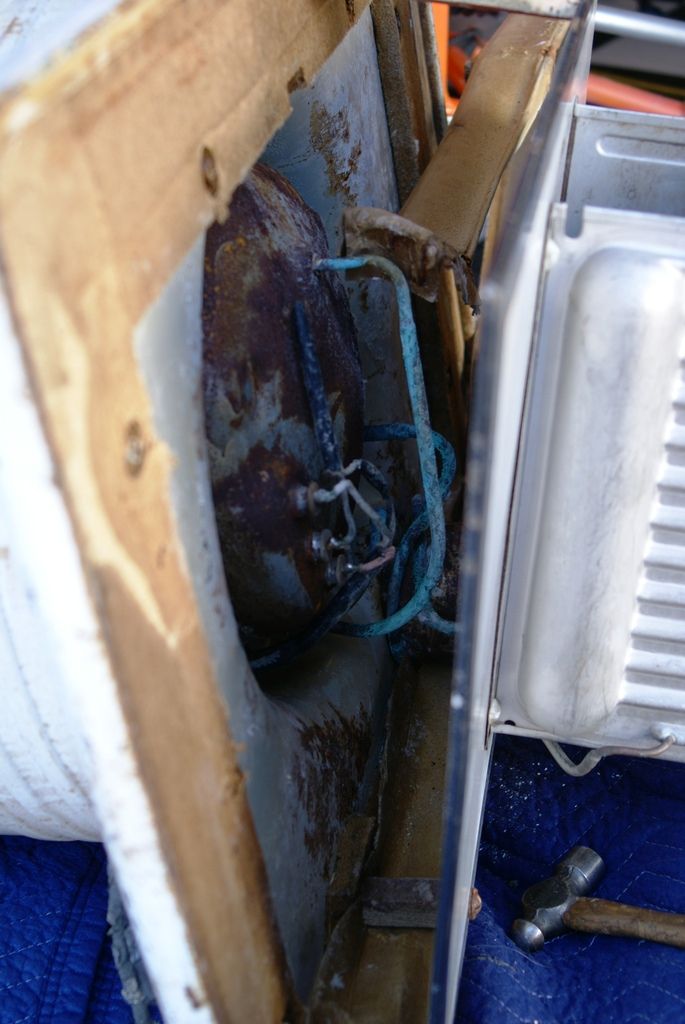
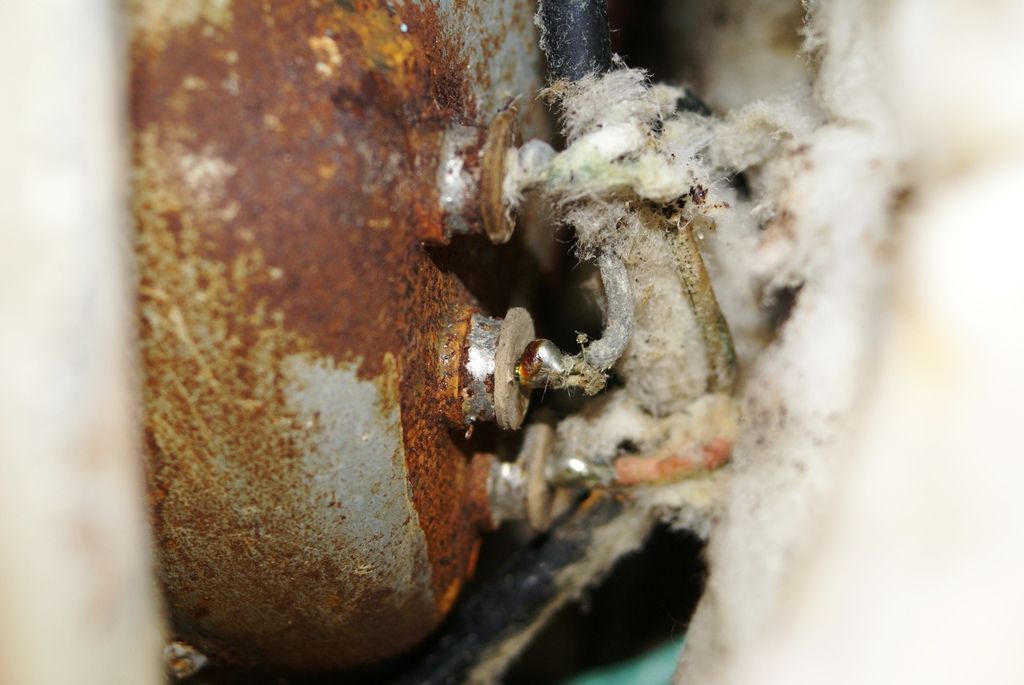
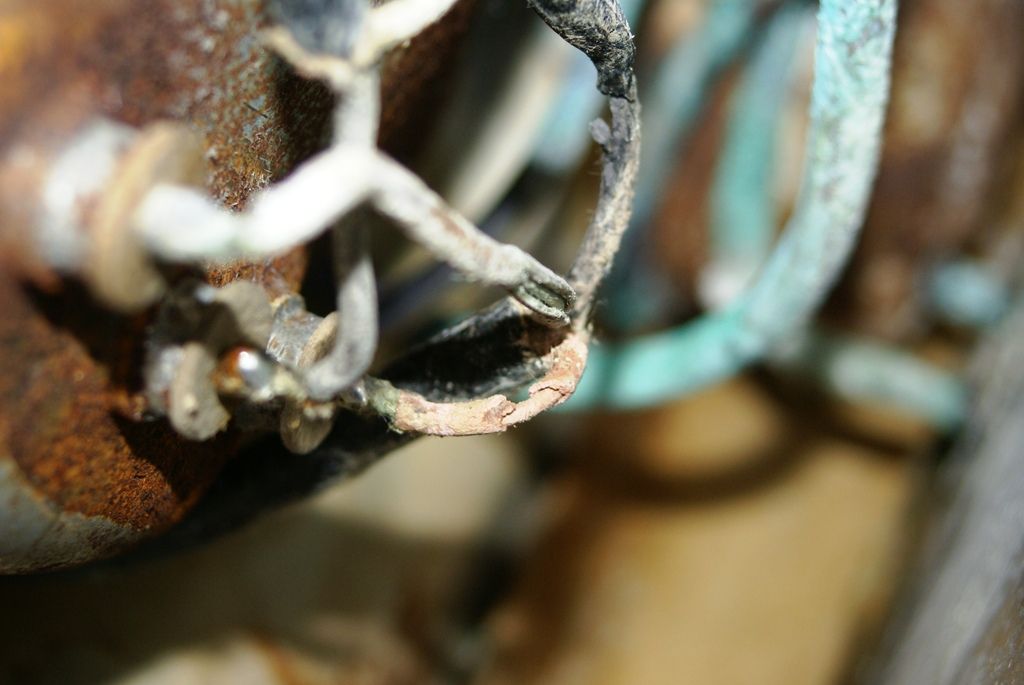
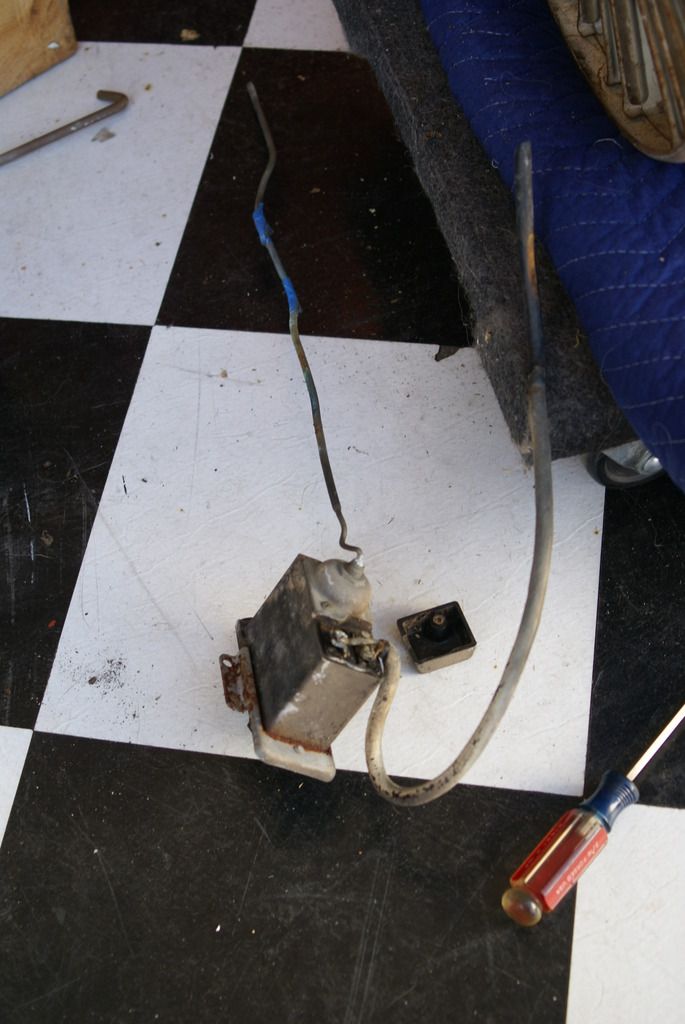
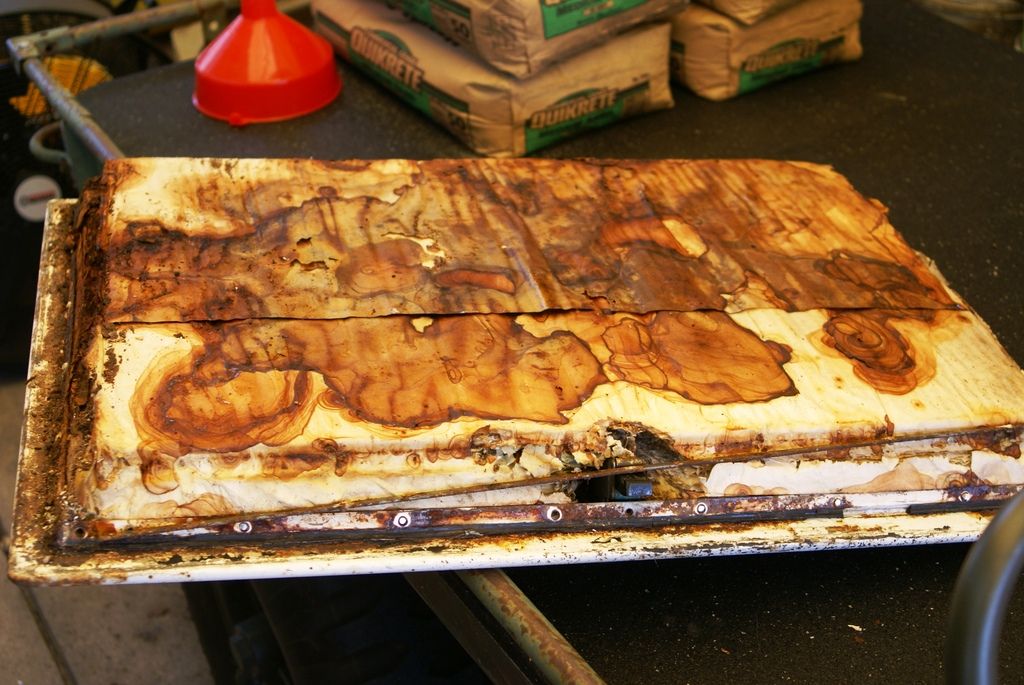
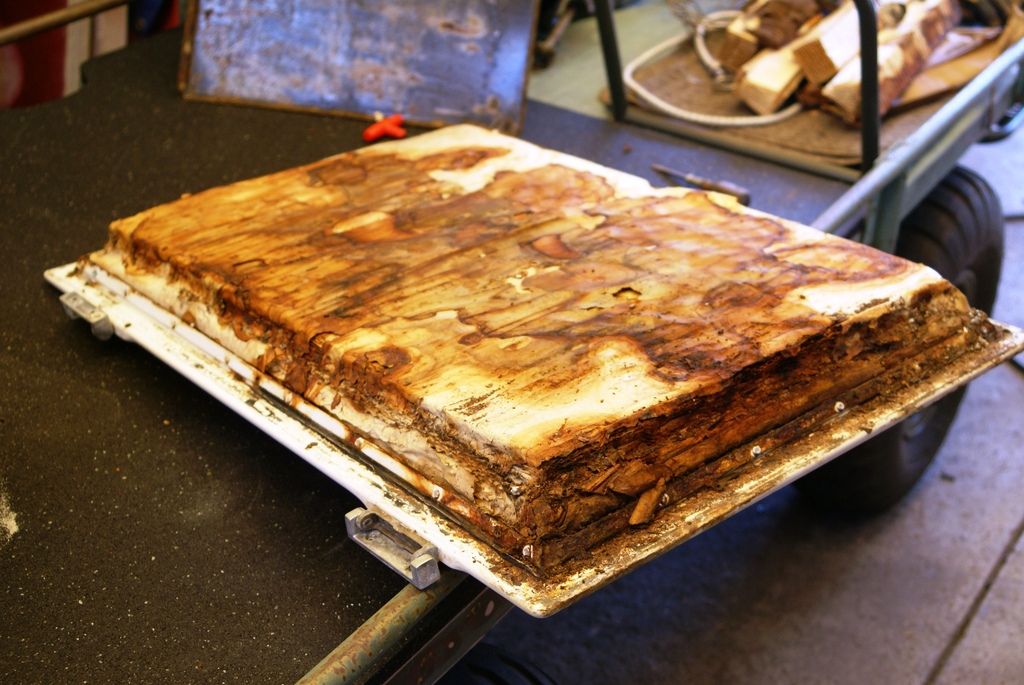
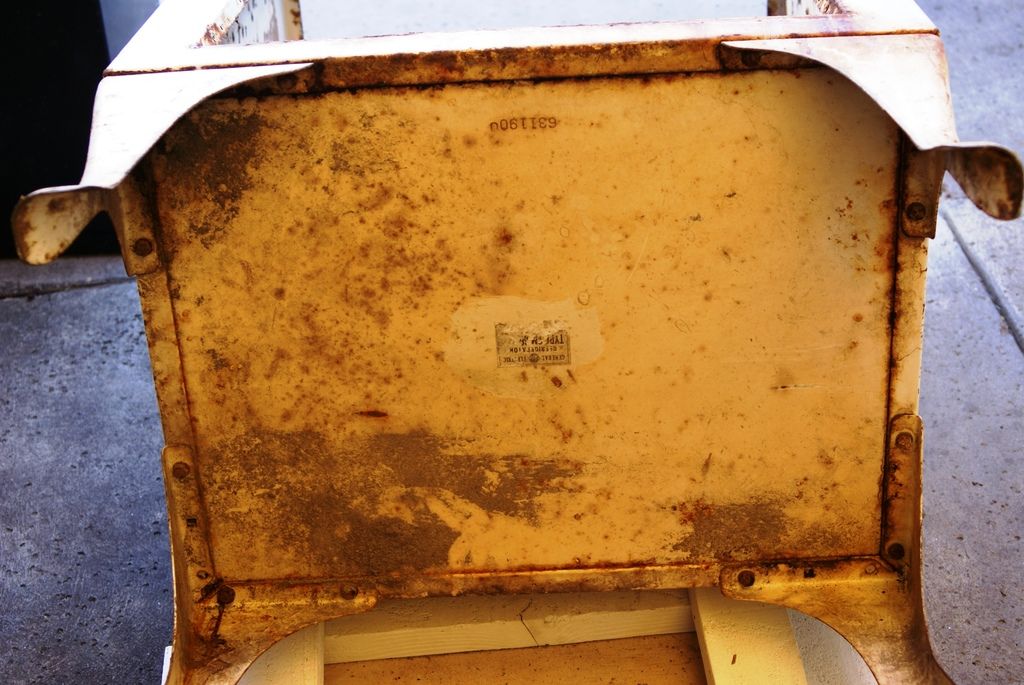
 and instantly decide the wiring needed some attention. So I read up on what others here have done, bought some wire and went for it. This is what I found. The thermal insulation was crunchy and wet so it went in the trash................I'll use something else when it goes back together.